LUSH - Angels On Bare Skin cleanser REVIEW

Saturday 4 May 2013


On a trip to Southampton at Christmas I popped in to Lush to buy some goodies for my friends (everyone loves a Lush goodie box at Christmas, let's face it).
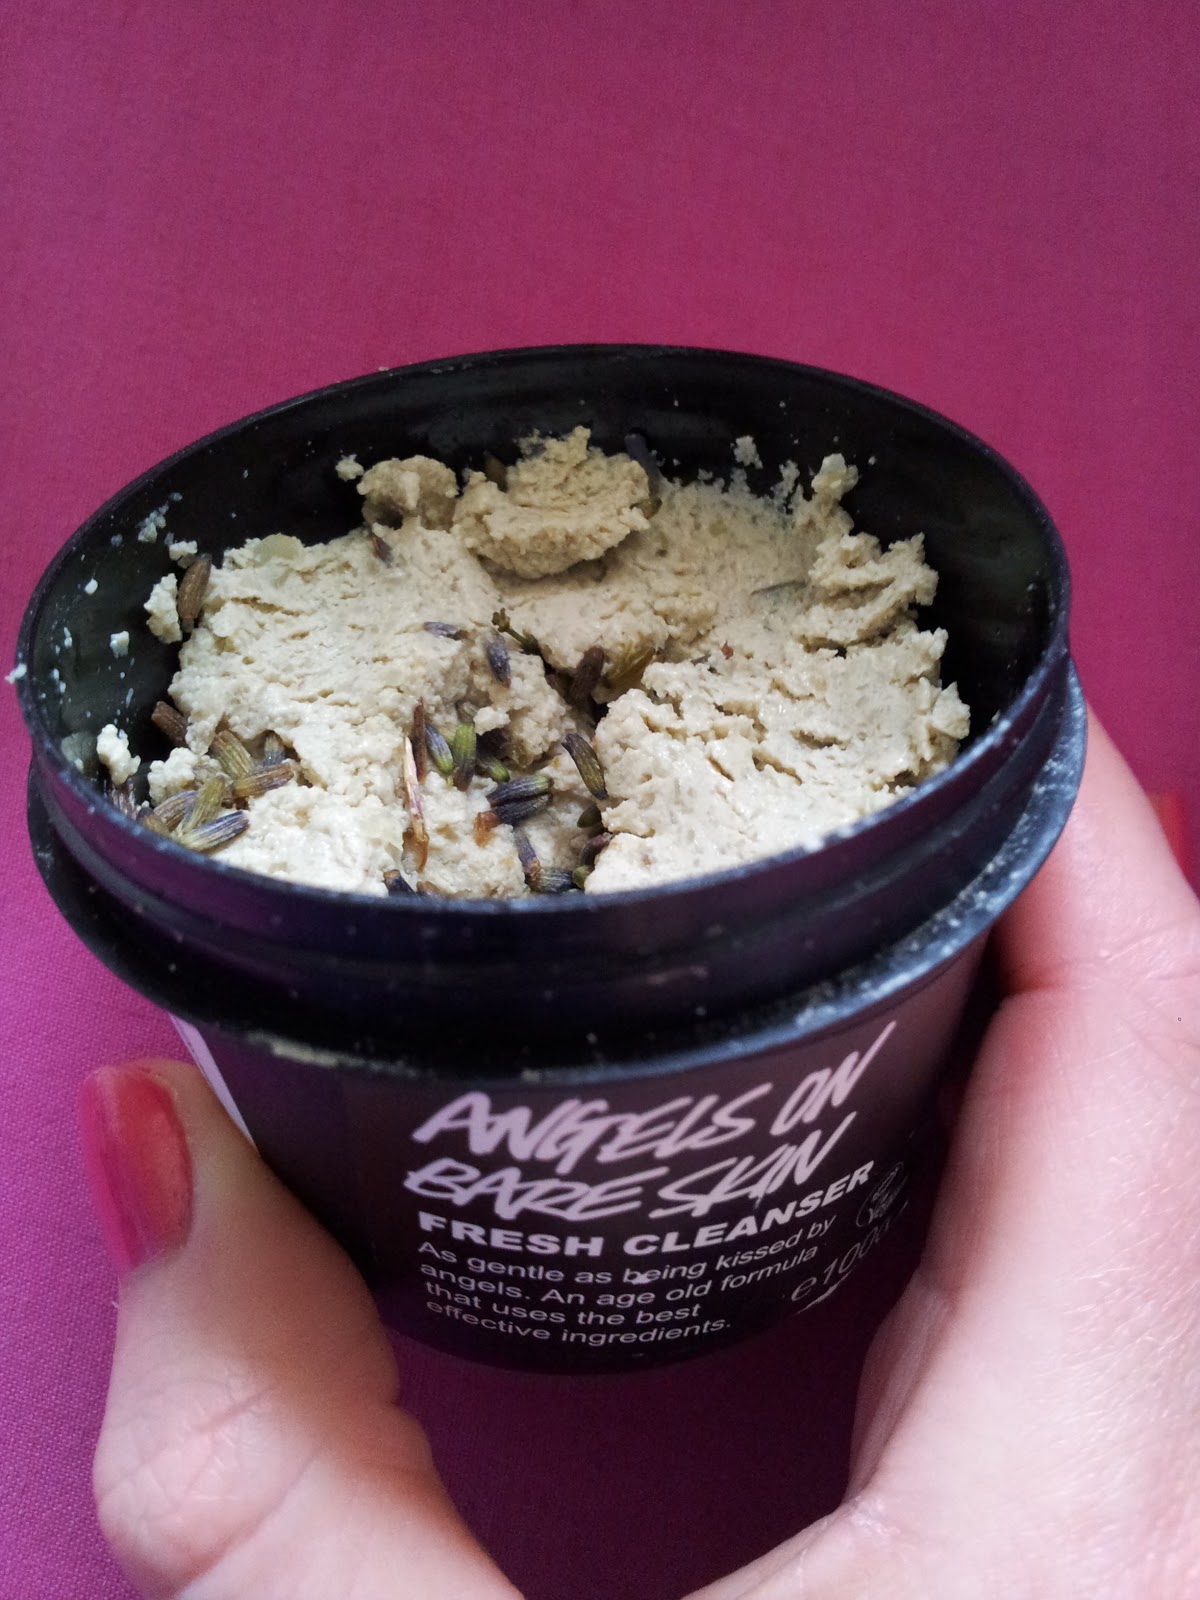
I was about to reach the till when I remembered a product that has been causing a little bit of a stir in the beauty bloggersphere: Angels On Bare Skin cleanser.
The sales assistant looked to see if they had any in stock but they were all out, she did however give me a small sample to take home for free, how nice is that? Thank you Lush Southampton! So, off I popped home with my incredibly gorgeous smelling bag of Lush goodies.


That evening I embarked on my Lush cleansing journey to the smoothest skin ever! Now, I have problem skin and always have, so the fact that Angels On Bare Skin is made with 100% natural ingredients was already selling it to me. I tend to find that after cleansing my skin feels dry and tight, and takes on an angry red appearance.
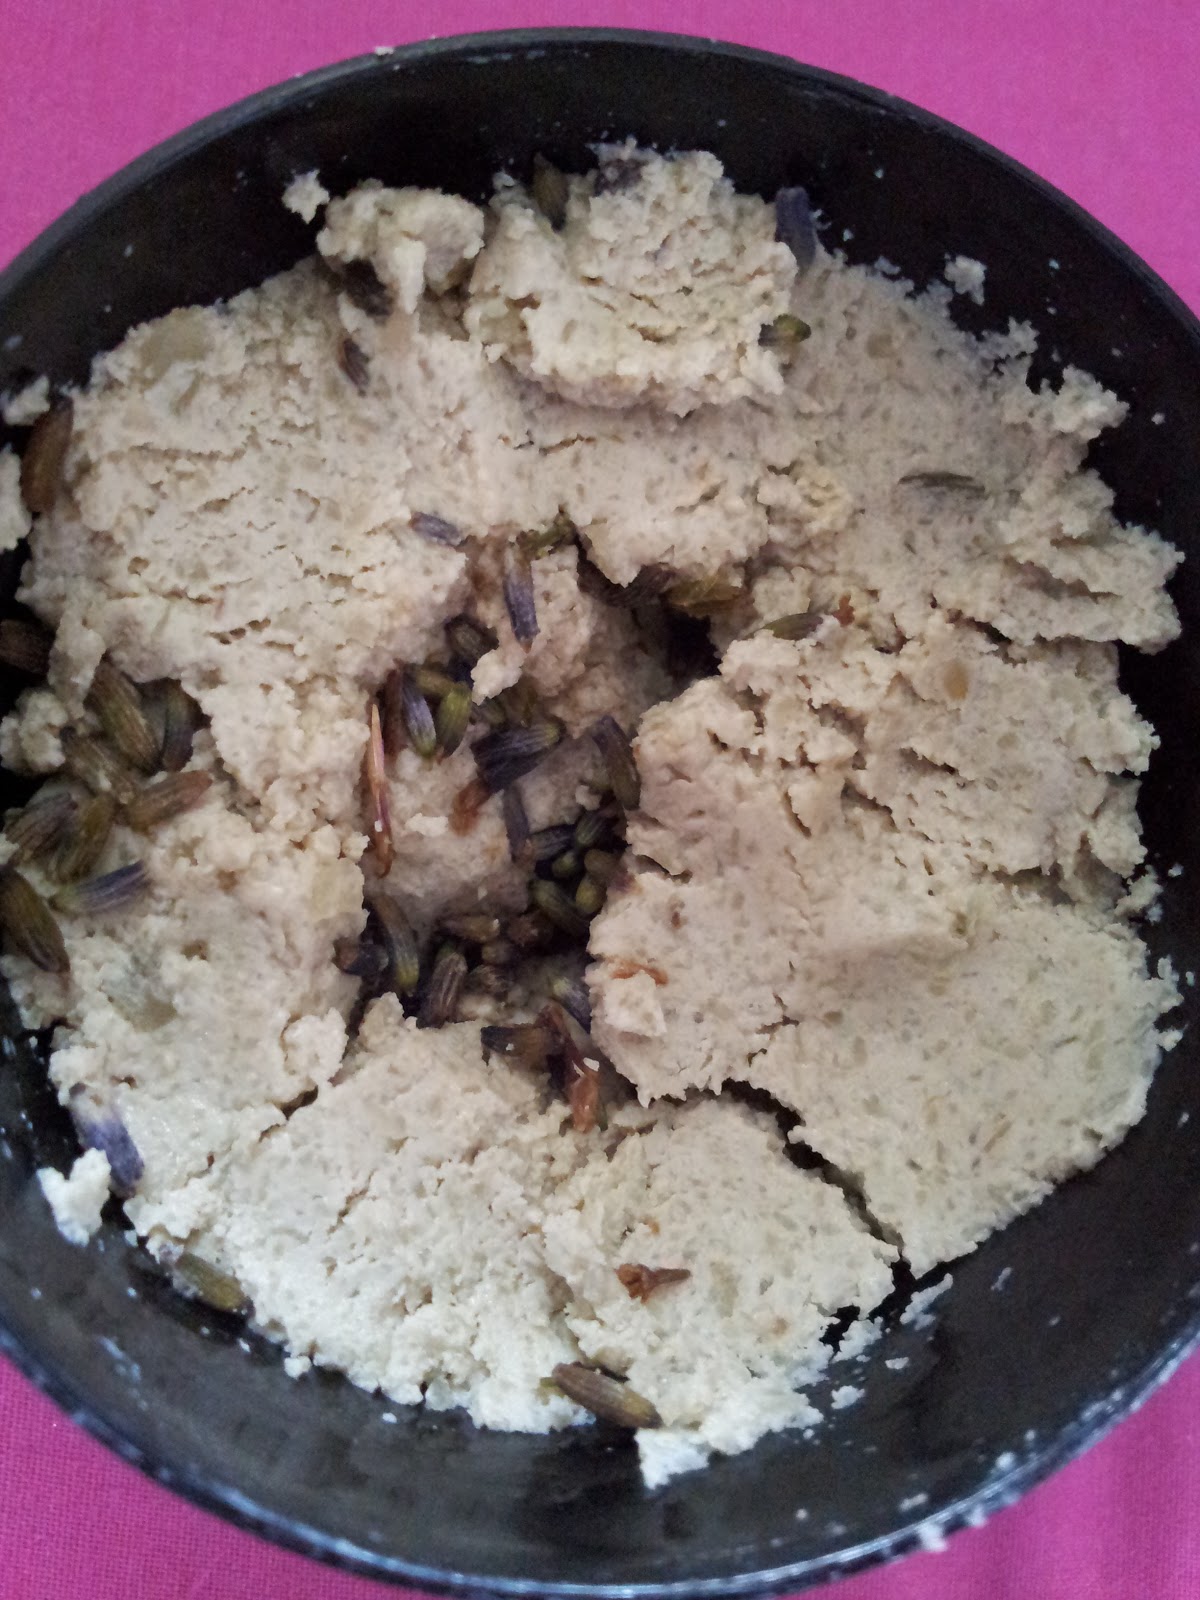
Angels On Bare Skin's main ingredient is almond milk, famed for its brightening and toning properties. When the cleanser is mixed with water the ground almonds act as a gentle exfoliant, suitable for everyday use. Alongside almond milk is kaolin to absorb oil, and glycerine to soften and moisturise the skin. The smell is decidedly natural, for obvious reasons, with the main scents being lavender and almond. I find this really pleasant to apply, the lavender giving a soothing aroma making this the perfect night-time cleanser (though I use it morning and evening!)

To use Angels On Bare Skin simply break off a pea sized amount of the solid cleanser, and mix with a little water in your palms. You can either make a paste or a milk texture, whichever you prefer. Massage this mixture onto damp skin, rinse off, and admire!


After using Angels On Bare Skin my skin felt, soft plump and supple. There was so little trace of tightness or dryness that I was even tempted to skip my moisturiser. Fear not, I didn't, but that just gives you an idea of the moisturising properties of this amazing cleanser.
Angels doesn't break me out, and throughout the day my skin is less oily than when using other cleansers.

I give Angels On Bare Skin by Lush two massive thumbs up, and at £6.25, so does my purse!

So, have you tried Angels On bare Skin? I'd love to know everyone's thoughts.
If you'd like to try Angels On Bare Skin, pop in to your local Lush shop, or click here to buy online!

XOXO

Colour block nails: Barry M & E.L.F

Thursday 2 May 2013

For today's post I wanted to share with you my colour block nails, perfect now that summer has decided to make a tentative appearance. I decided to use a twist on an old classic, the French manicure, but this time utilising my most Barbie-esque shades. The two colours I have used here are Barry M Nail Paint in Bright Pink, and E.L.F Nail Varnish in Lilac.

As always, I have begun by using a base coat which in this case is Revlon Quick Dry Base Coat. I then layered two coats of Barry M Bright Pink to create an opaque finish for my base colour. To create the tips I simply swiped E.L.F Lilac horizontally across my nail in two thin coats. Always make sure to paint over the free edge at the end of your nail, as this will reduce the likelihood of chipping.
To finish I am using my favourite top coat, Save The Nail 45 Second Top Coat, which delivers a high-shine finish. Better yet it is touch dry in seconds meaning you are good to go without fear of smudging and chipping. It's fabulous, and I highly recommend it if you, like me, get impatient when painting your nails.

Well, I hope you enjoyed my colour block nails. Below are links to all the products I used in this blog post if you'd like to try this NOTD:

Revlon - Quick Dry Base Coat: Boots £6.49
Barry M Nail Paint - Bright Pink: Superdrug £2.99
E.L.F Nail Varnish - Lilac: Eyes Lips Face £2.50
Save The Nail - 45 Second Top Coat: Boots £6.95

XOXO

Clarins Daily Energizer Cream REVIEW

Wednesday 1 May 2013


So, I have firstly got to apologise for the lack of blog posts recently. Changing jobs has meant my time has been super used up. However, my love of all things beauty has not waned.

I wanted to post a blog about my new found love of all things Clarins. Now, Clarins is a brand that I've never tried and due to their price tags was reluctant to try. With my problem skin I didn't want to invest in a product that I wasn't going to be compatible with, and waste a lot of pennies in doing so.

Luckily for me, I recieved a set of Clarins products at Christmas last year, to include Clarins Daily Energizer Cream. When I started using this Moisturiser I must admit I was not entirely sold. In particular, I didn't like the citrusy smell that most beauty bloggers rave about (in fact mine didn't smell anything like the descriptions I had seen online). But, as it was a gift, and an expensive one at that I was determined to love this moisturiser. And my determination certainly paid off. 

Just a little about my skin-type. I have dehydrated, combination skin which is also acne-prone. What a lovely combination! My T-zone gets oily, though not as oily as it used to. My cheeks are normal, and I almost always have some form of blemish on my skin.
Clarins Daily Energizer Cream has a medium consistency in terms of thickness, and glides on very easily. I found that it absorbed in seconds and left my skin feeling nicely hydrated, without leaving any residue on the skin. I also found that this kept my skin mattified throughout the day, something that Clarins has not mentioned as a feature of the product. In fact, my experience of using this product almost exactly rings true to Clarins' own description of the moisturiser (below).
"Daily Energizer Cream delivers soft, smooth skin - minor imperfections disappear and your complexion is left healthy-looking and radiant. Skin is soft and supple but does not shine. With no oily effect, it is also an excellent base for make-up. Skin is perfectly hydrated and your complexion is even, fresh-looking and bright. Recommended for women in their 20's."
So what about the smell? Well, after using this consistently I started to enjoy the smell, and by the end of my pot I was absolutely in LOVE! Something about it makes you just feel content. It is a refreshing scent that compliments the fresh feel that this moisturiser delivers. 

Now, it's not just myself that has fallen in love with Daily Energizer Cream. Daily Energizer Cream is the winner of Best Everyday Moisturiser Red Best of Beauty Awards 2012, and also winner of Best Day Cream Elle Beauty Awards 2011! So will I be repurchasing? Despite the RRP £21 price tag I certainly will. Coming in to summer I am tempted to invest in the Daily Energizer Cream-Gel, as a lighter solution.
You can purchase Clarins Daily Energizer Cream here on the Clarins website or if you want to try the Cream-Gel just click here.
Those of you who are Boots fans, like myself, can also purchase Clarins Daily Energizer Cream here on the Boots website, or in selected stores Nationwide.

Thanks for reading everyone, if there are any Daily Energizer Cream fans out there do let me know your thoughts, and likewise if any Clarins fans can recommend any other moisturisers that are great let me know!

NOTD: Barry M & Collection 2000 pastels look

Thursday 21 June 2012

Hi my beauties,

Just a quick post on my #NOTD (Nail of the Day) look for you. I say day... but as these polishes have been long wearing I've had this look on since Sunday.

I'm wearing O.P.I Base & Top coat (my fave), with two coats of Collection 2000 Hot Looks Fast Dry Nail varnish in 33 Button Moon (the mint green colour), and Barry M Nail Paint in Strawberry Ice Cream on my ring finger.

Pastel is back once again for SS12 so I thought I would jump on the band wagon and try to have cheerful nails despite the dreary English Summer we're having. If you're looking for an Essie Mint Candy Apple dupe and have access to a Boots store go pick up the shade Button Moon from Collection 2000 or buy it here at Boots website. For £1.79 you can't really go wrong and they have so many shades!
Strawberry Ice Cream by Barry M can be also found on the Boots website for £2.99 and these are so long wearing. The Collection 2000 Hot Looks polishes are 8ml, while Barry M nail paints are 10ml, so you get a decent amount of product, but they are still small enough to throw in your handbag. All in all a nice cheap and cheerful, but good quality manicure!

Well beauts, it's way past my bedtime.

Hope you enjoyed my small NOTD! (Nail of the night now...*YAWN!*)

Natalie
xoxo

Depotting Urban Decay Primer Potion

Saturday 16 June 2012

Hello my beauties!

I thought I'd finally upload my post about the magical moment that I had to depot my Urban Decay Primer Potion!

I have the old-style genie bottle and when my applicator started to come out with little product I tried tip #1: Take out the plastic stopper!
I had seen this method used on a blog somewhere in the internet ether, and so thought this was a fantastically easy method to get more mileage from my UDPP. This I would say gave me about 3 months extra use. One day I noticed that I was getting hardly any product on the applicator, and with a heavy heart I decided it was time to bite the bullet and depot my UDPP.

 So to start I used the following products:
(Serrated knife, wooden spatula, Surgical Spirit, Antibacterial spray, little pot, UDPP)


I started by using the serrated knife to CAREFULLY cut along the widest part of the bottle (this should only be done by an adult- please take great care when cutting not to hurt yourself). I used a serrated knife as the bottle is made of thick plastic and this was the most effective method.
When I finally cut through the bottle this is what I found:
Top of bottle
Bottom of bottle
To me it looked like taking the plastic stopper out of the bottle had worked wonders as there seemed to be no product left. The top of the bottle however had lots of lovely product in it, waiting to be scooped out! I was a bit sad to learn that taking the stopper out of the bottle was so effective, so I decided to also cut off the bottom of the bottle and found lots of product in there also! YAY!

I took my wooden spatula and broke it in half to create a really thin tool that I could use to scoop out the maximum amount of Primer Potion from my bottle.
I decanted my Primer Potion into a small sample pot from Garnier, but you can buy similar little pots in drugstores and on eBay. Then I simply scraped the primer off into the little pot section by section: top of primer bottle, body and base.

Here is the final result!

As you can see, I've actually got a lot of UDPP left, despite what I thought when I first opened the bottle. I have used an airtight contained so my UDPP doesn't dry up so quickly which I highly recommend. From what I scooped out I would say I have around 3ml of product, so considering one bottle of Urban Decay Primer Potion is 11ml that's just over a quarter of a bottle! Perhaps I even have more but I really can't tell! All I know is that I will continue to enjoy this product for a while yet.

So my beauties, If you have an old-style bottle of UDPP I seriously recommend that you take out the bottle stopper once you feel you are getting low, and then go on to depot. You will be surprised with just how my primer is left! I think next time I will purchase the professional size Urban Decay Primer potion as it comes with a squeeze tube and nib applicator.

Thanks for reading!
Natalie
xoxo

nRelate